One of the best professional sewing finishes that you can add to your garments is 'understitching'. It can take a little bit of practice, but once you have mastered this technique, there is no going back. Undertsitching is commonly seen on neck edges, jacket lapels, shirt collars, and just about anywhere you need a neat smooth finish.
There are a few steps involved to create this finish, but they are well worth the effort! @the.sartorial.project you will find that quite a few of our sewing patterns use the understitching technique to help you achieve a professional finish.
Follow along for a neat neck edge finish using a facing and understitching⬇⬇⬇
: Step 1 : Follow your pattern sewing instructions to prepare the neck edge and facing. Pin and stitch the facing to the neck edge.
: Step 2 : Trim the excess seam allowance from the neck edge leaving 4-6mm. This amount will depend on the stiffness and thickness of your fabric.
: Step 3 : Press the facing and seam allowances towards the centre of the neck edge.
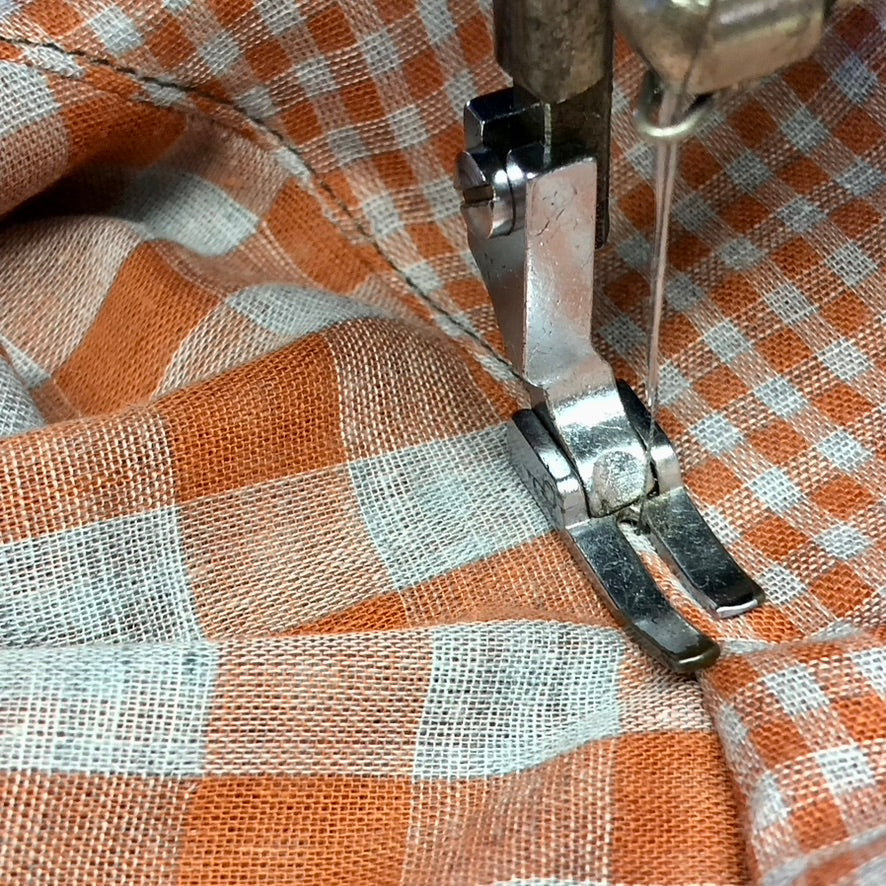
: Step 4 : With your garment under the foot of the sewing machine, align the machine needle 1-2mm away from the neck/facing seam. You need to make sure that you are stitching on the facing and that all the seam allowances are also sitting in this direction. Continue sewing around the neck facing until the end.
: Step 5 : Press the facing to the inside of your garment (as it would sit finished). You will notice that the facing will roll into the inside of the garment slightly. This is correct. Hand tack with a needle and thread the facing to the shoulders and other seam junctions such as the centre back neck.
: Step 6 : This is the finished facing neck edge with understitching on the inside and outside of the garment. For a decorative effect, you could also add top-stitching❤️.